Draft for Information Only
Content
Raspberry Pi: Beginners Guide
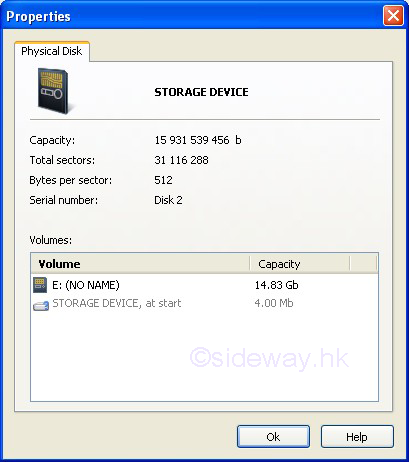
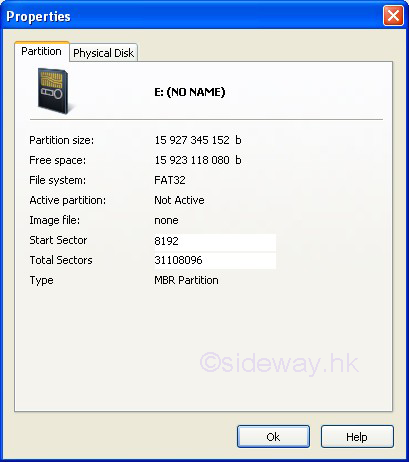
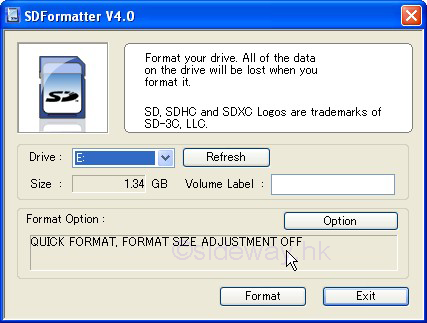
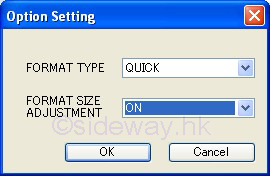
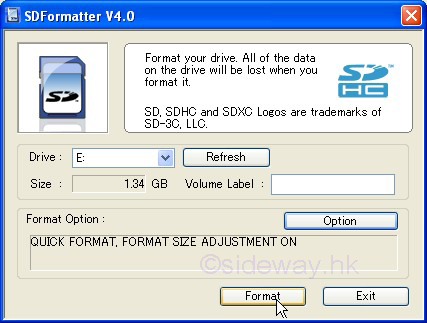
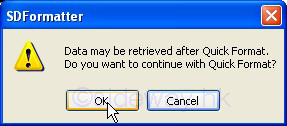
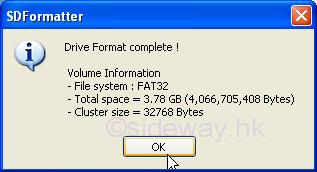
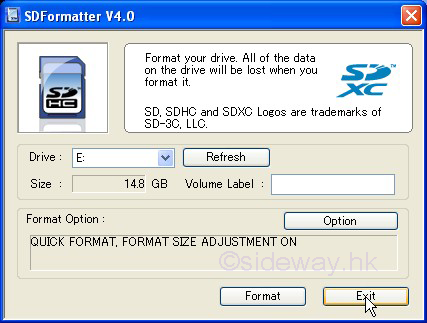
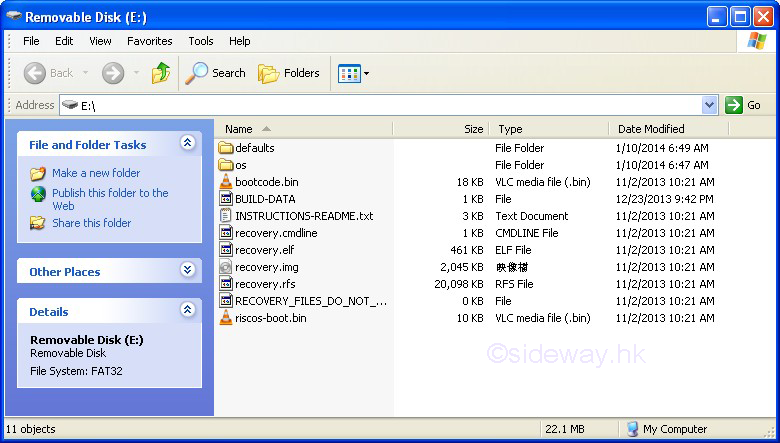
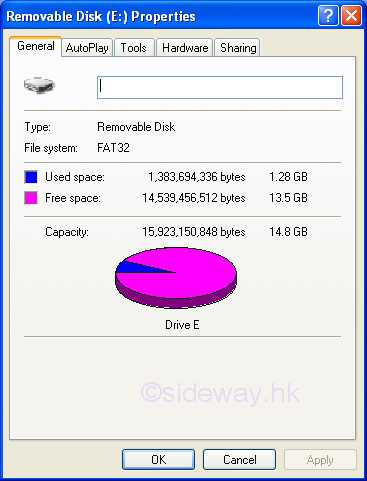
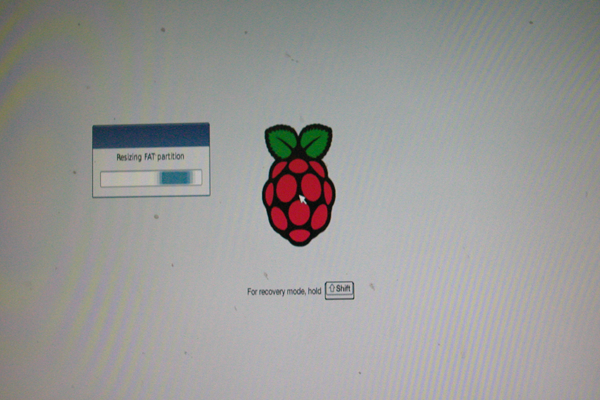
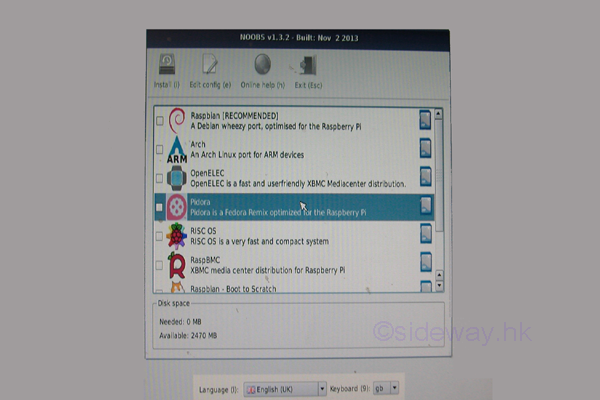
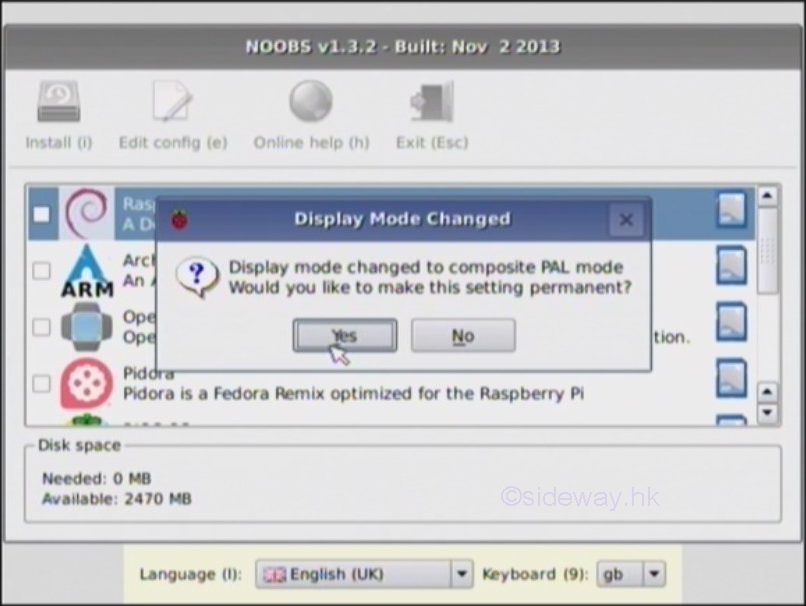
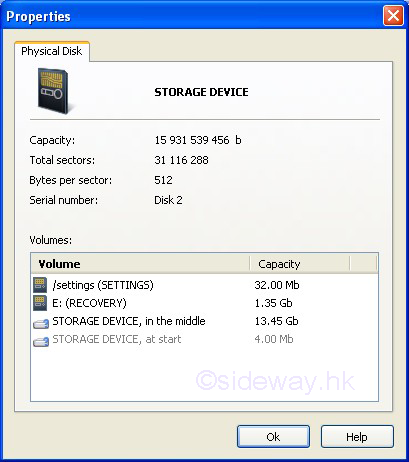
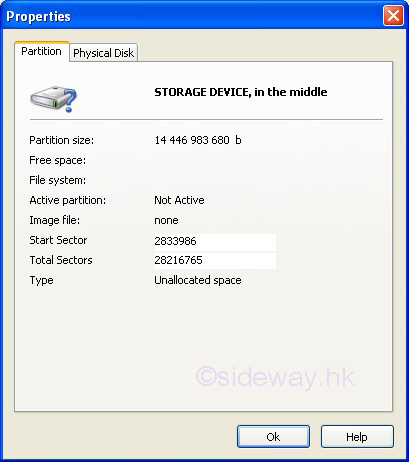
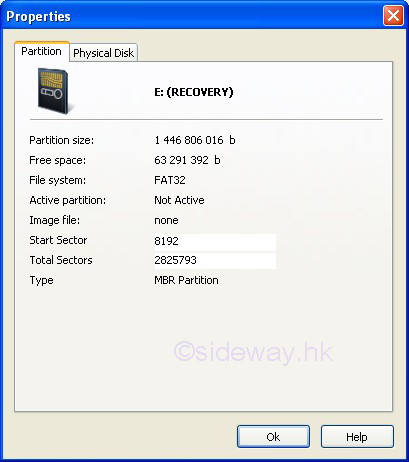
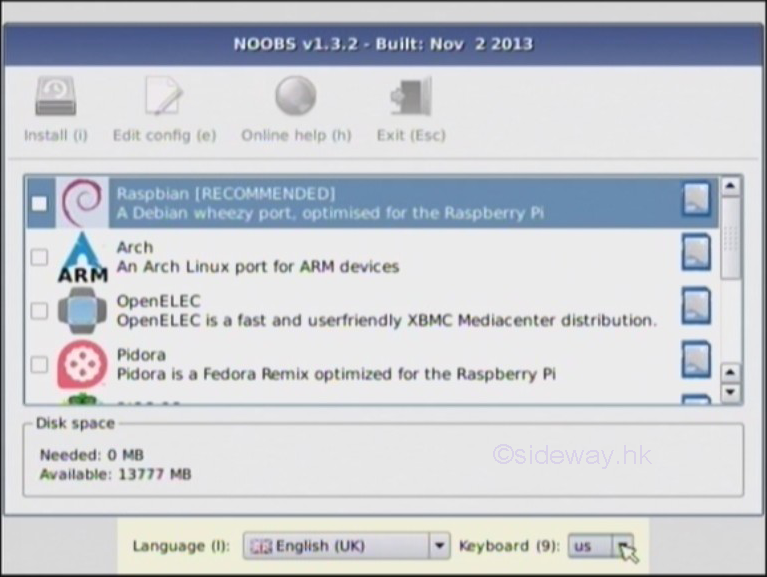
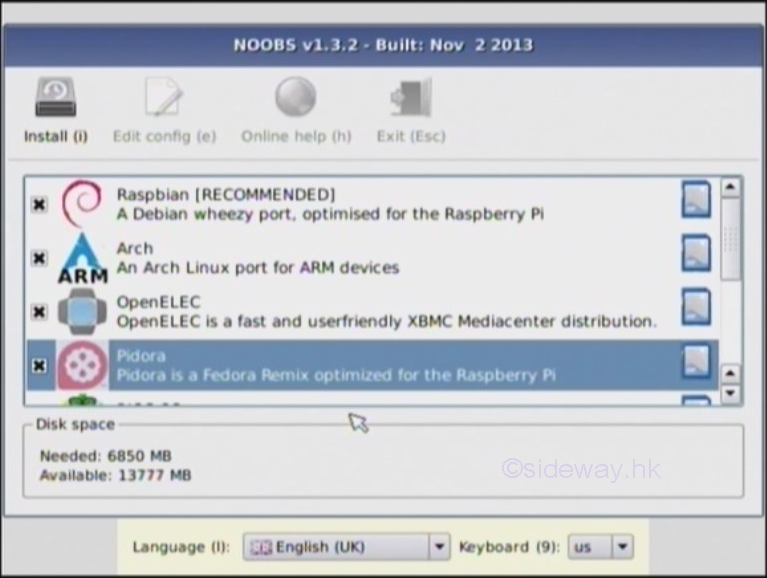
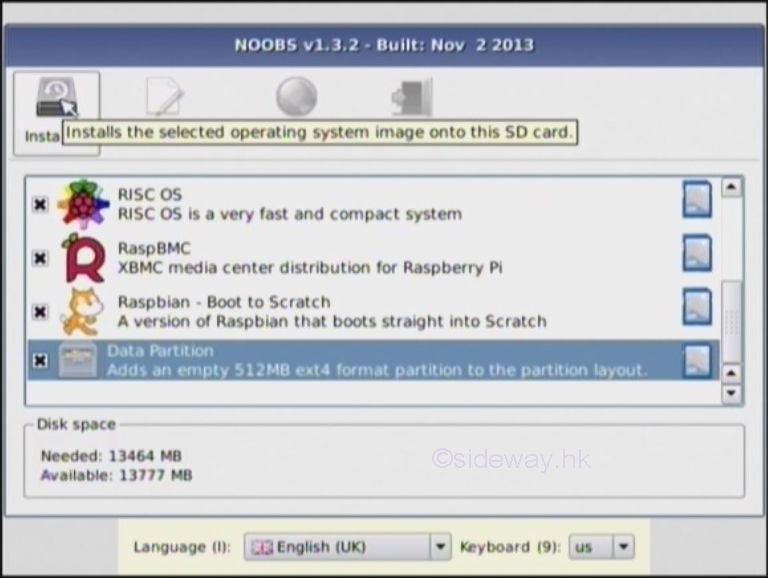
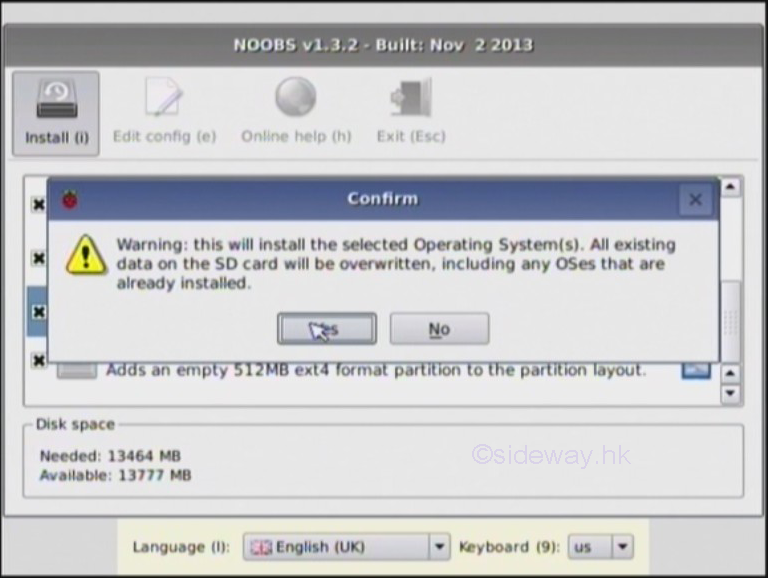
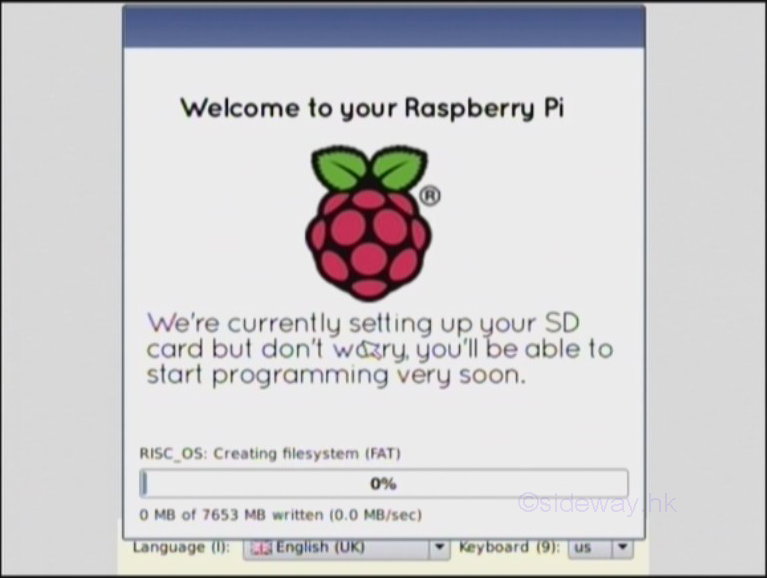
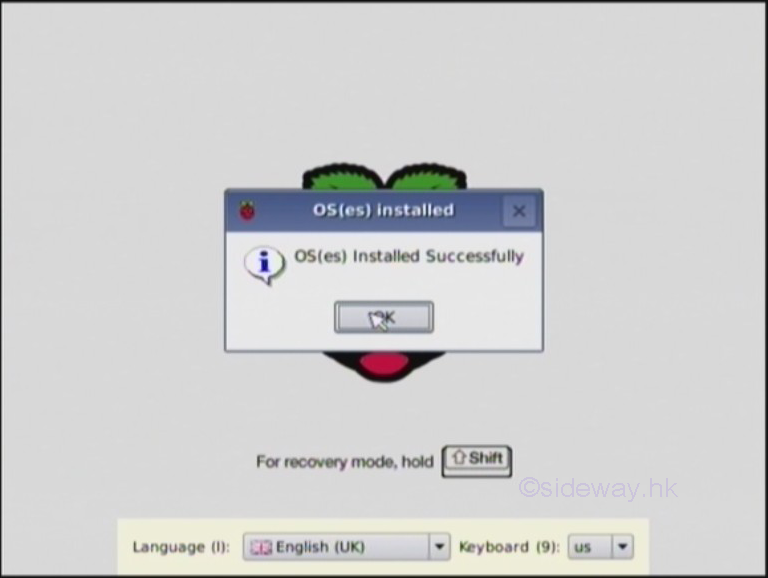
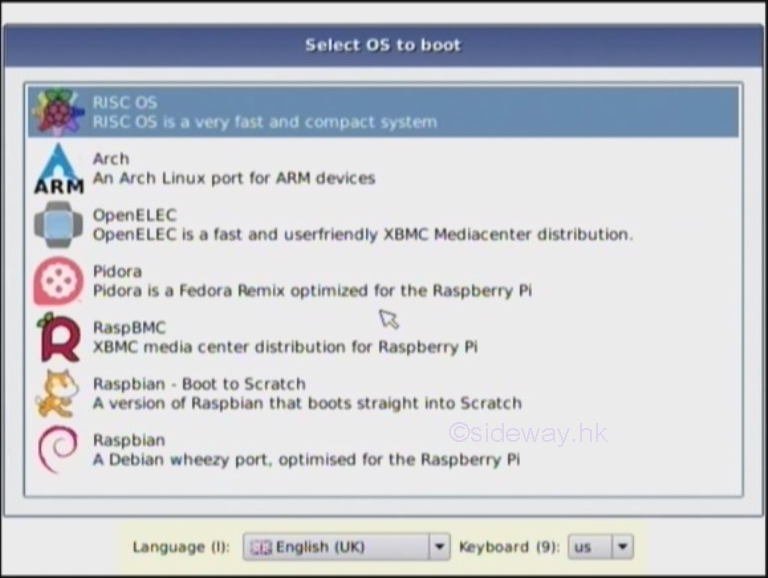
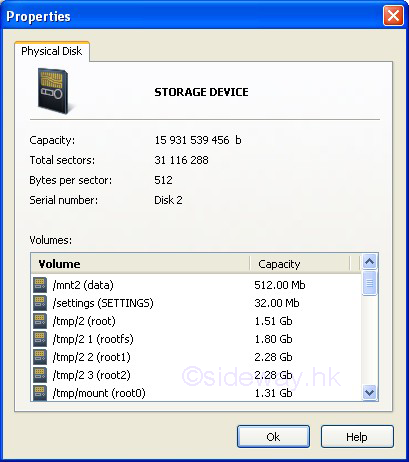
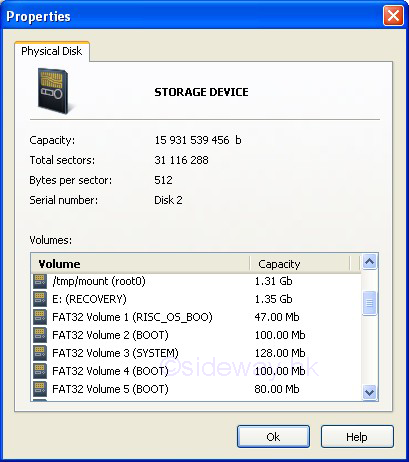
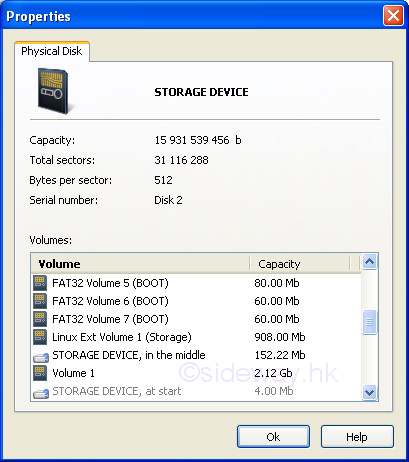
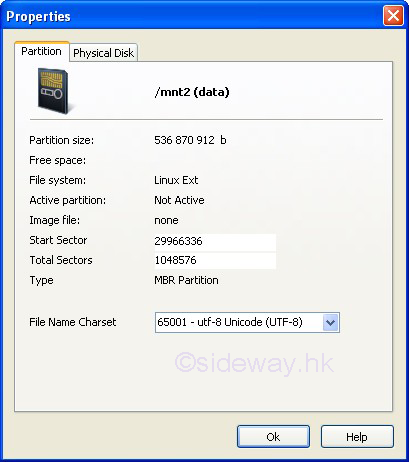
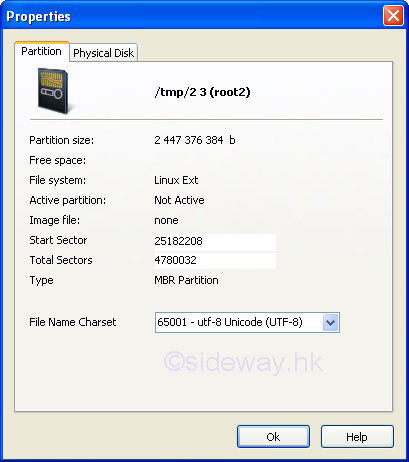
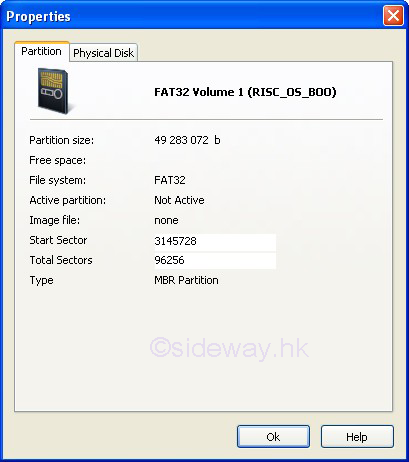
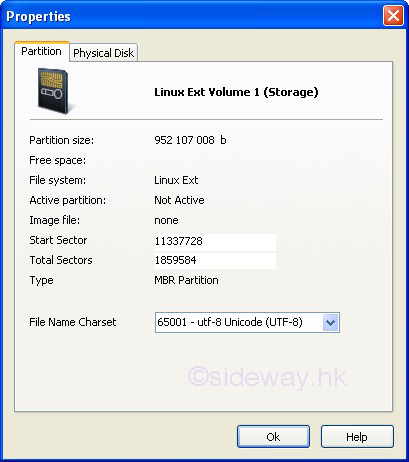
Raspberry Pi: Beginners GuideA Raspberry Pi is a credit-card sized computer board with a SoC unit and limited resources, besides different types of software, some extra parts are needed in addition to the Raspberry Pi board in order to make the Raspberry Pi board work. Basic Conventional Raspberry Pi SystemNew Out Of Box SoftwareThe New Out Of Box Software (NOOBS) provides an easier way to manipulate the operating system used on the Raspberry Pi board. The NOOBS works like a boot manager to assist the installation of different Operating System on the Raspberry Pi and recovers the system if the system is broken. Besides, the NOOB Software also provides a way to config the output display port of the Raspberry Pi during the installation of the operating system. Installation of Multi Operating System Environment on a SD card Using NOOBS:
©sideway ID: 140100008 Last Updated: 1/11/2014 Revision: 0 Latest Updated Links
  Nu Html Checker Nu Html Checker  na na |
 Home 5 Business Management HBR 3 Information Recreation Hobbies 9 Culture Chinese 1097 English 339 Travel 45 Reference 79 Hardware 55 Computer Hardware 261 Software Application 213 Digitization 37 Latex 52 Manim 205 KB 1 Numeric 19 Programming Web 289 Unicode 504 HTML 66 CSS 65 SVG 46 ASP.NET 270 OS 431 DeskTop 7 Python 72 Knowledge Mathematics Formulas 8 Set 1 Logic 1 Algebra 84 Number Theory 206 Trigonometry 31 Geometry 34 Calculus 67 Engineering Tables 8 Mechanical Rigid Bodies Statics 92 Dynamics 37 Fluid 5 Control Acoustics 19 Natural Sciences Matter 1 Electric 27 Biology 1 |
Copyright © 2000-2026 Sideway . All rights reserved Disclaimers last modified on 06 September 2019